

Views: 0 Author: Site Editor Publish Time: 2026-08-10 Origin: Site


Custom fabrication carries high stakes for any manufacturing business. You invest significant time and budget into intricate designs. This demands absolute material predictability. You cannot afford ruined blanks when project deadlines loom. Acrylic remains a standard industry material for signage and decor. However, achieving professional-grade cuts and frosted engravings on an Art Acrylic Sheet depends on several distinct factors. Chemical composition, laser type, and precise parameter control dictate your ultimate success. If you ignore these elements, you invite melted edges and scorched surfaces into your workflow.
We will outline exactly how to evaluate material types and hardware compatibility. You will learn to mitigate implementation risks before moving a custom design into full production. We also cover optimal software parameters and advanced post-processing techniques. These tested strategies ensure your finished pieces achieve a flawless, museum-grade aesthetic every single time.
Yes, with caveats: Art acrylic sheets are highly workable, but success requires matching the manufacturing process (Cast vs. Extruded) to the specific design goal (engraving vs. cutting).
Equipment matching: CO2 lasers are the industry standard for acrylic; diode lasers face severe limitations with clear, white, and blue sheets.
Prep is non-negotiable: Utilizing paper masking and calibrated air assist prevents surface scorching and melted edges.
Post-processing dictates quality: Multi-layer designs require specific solvent-welding techniques to avoid frosting or bubbling in the final piece.
Choosing the wrong acrylic type leads directly to wasted inventory. You will experience ruined blanks and poor edge finishes if you mismatch the material. Fabricators must select the baseline material based on their desired visual outcome. We divide acrylic into two primary categories based on how manufacturers produce it.
Manufacturers create extruded acrylic by pushing liquid plastic through a form. This continuous process creates a sheet with a distinct molecular grain. It melts at a noticeably lower temperature than its cast counterpart. When you cut this material with a laser, it yields highly polished, flame-like edges. The laser beam essentially fire-polishes the cut line as it travels.
However, extruded materials carry notable risks. They leave a gummy, melted residue when you try to engrave them. The engraving lacks contrast and looks muddy. They also prove prone to micro-fractures if you drill them mechanically. Wiping extruded edges with harsh solvents often causes immediate cracking.
Cast acrylic involves pouring liquid acrylic between two glass plates. It cures slowly into a solid state. This process results in a highly uniform molecular structure without a directional grain. It produces a clean, high-contrast, frosty-white engraving. This bright white mark makes it ideal for LED edge-lit signs or highly detailed custom designs.
Cast options present a slightly higher cost. It also requires more laser power to cut through compared to extruded variants. The cut edge appears clean but lacks the natural glass-like polish seen on extruded sheets.
Art Acrylic Sheet Material Comparison
| Feature | Cast Acrylic | Extruded Acrylic |
|---|---|---|
| Manufacturing | Poured into molds | Pushed through a die |
| Engraving Result | Frosty, high contrast (Excellent) | Clear, gummy, melted (Poor) |
| Cutting Edge | Clean, slightly matte | Highly polished, glass-like |
| Thermal Tolerance | High melting point | Low melting point |
| Best Use Case | Edge-lit signs, detailed art | Interlocking parts, standalone cuts |
Not all laser cutters are capable of processing every color. You must evaluate your hardware before buying a Custom Acrylic Sheet. The wavelength of your laser dictates entirely what materials it can interact with.
CO2 lasers represent the gold standard for acrylic fabrication. They operate at a 10,640nm wavelength. Acrylic materials absorb this specific wavelength perfectly. Because of this high absorption rate, CO2 machines can process all acrylic colors. They easily cut completely clear panels and mirrored sheets.
We highly recommend CO2 technology for commercial businesses. They offer scalable, repeatable production across diverse material palettes. You achieve consistent results regardless of the pigment density.
Diode lasers operate in the visible light spectrum. They typically use a 450nm blue light beam. This hardware presents severe limitations for fabricators. They cannot cut or engrave clear, white, or blue acrylic. The visible beam simply passes completely through clear sheets. It reflects dangerously off mirrored backings. You require opaque, dark acrylics to function safely with a diode system.
Common Mistake: Many beginners purchase clear blanks for a diode laser. They ruin the material and risk damaging the laser module via beam reflection. You must use dark acrylic if you rely on diode hardware.
CNC routers provide a non-thermal alternative. They use spinning metal bits to physically chip material away. They prove best for thick structural acrylics where you must avoid thermal stress entirely. Melting is never an issue with a router. However, the bit leaves a matte, machined edge. This edge requires post-polishing to restore optical clarity.
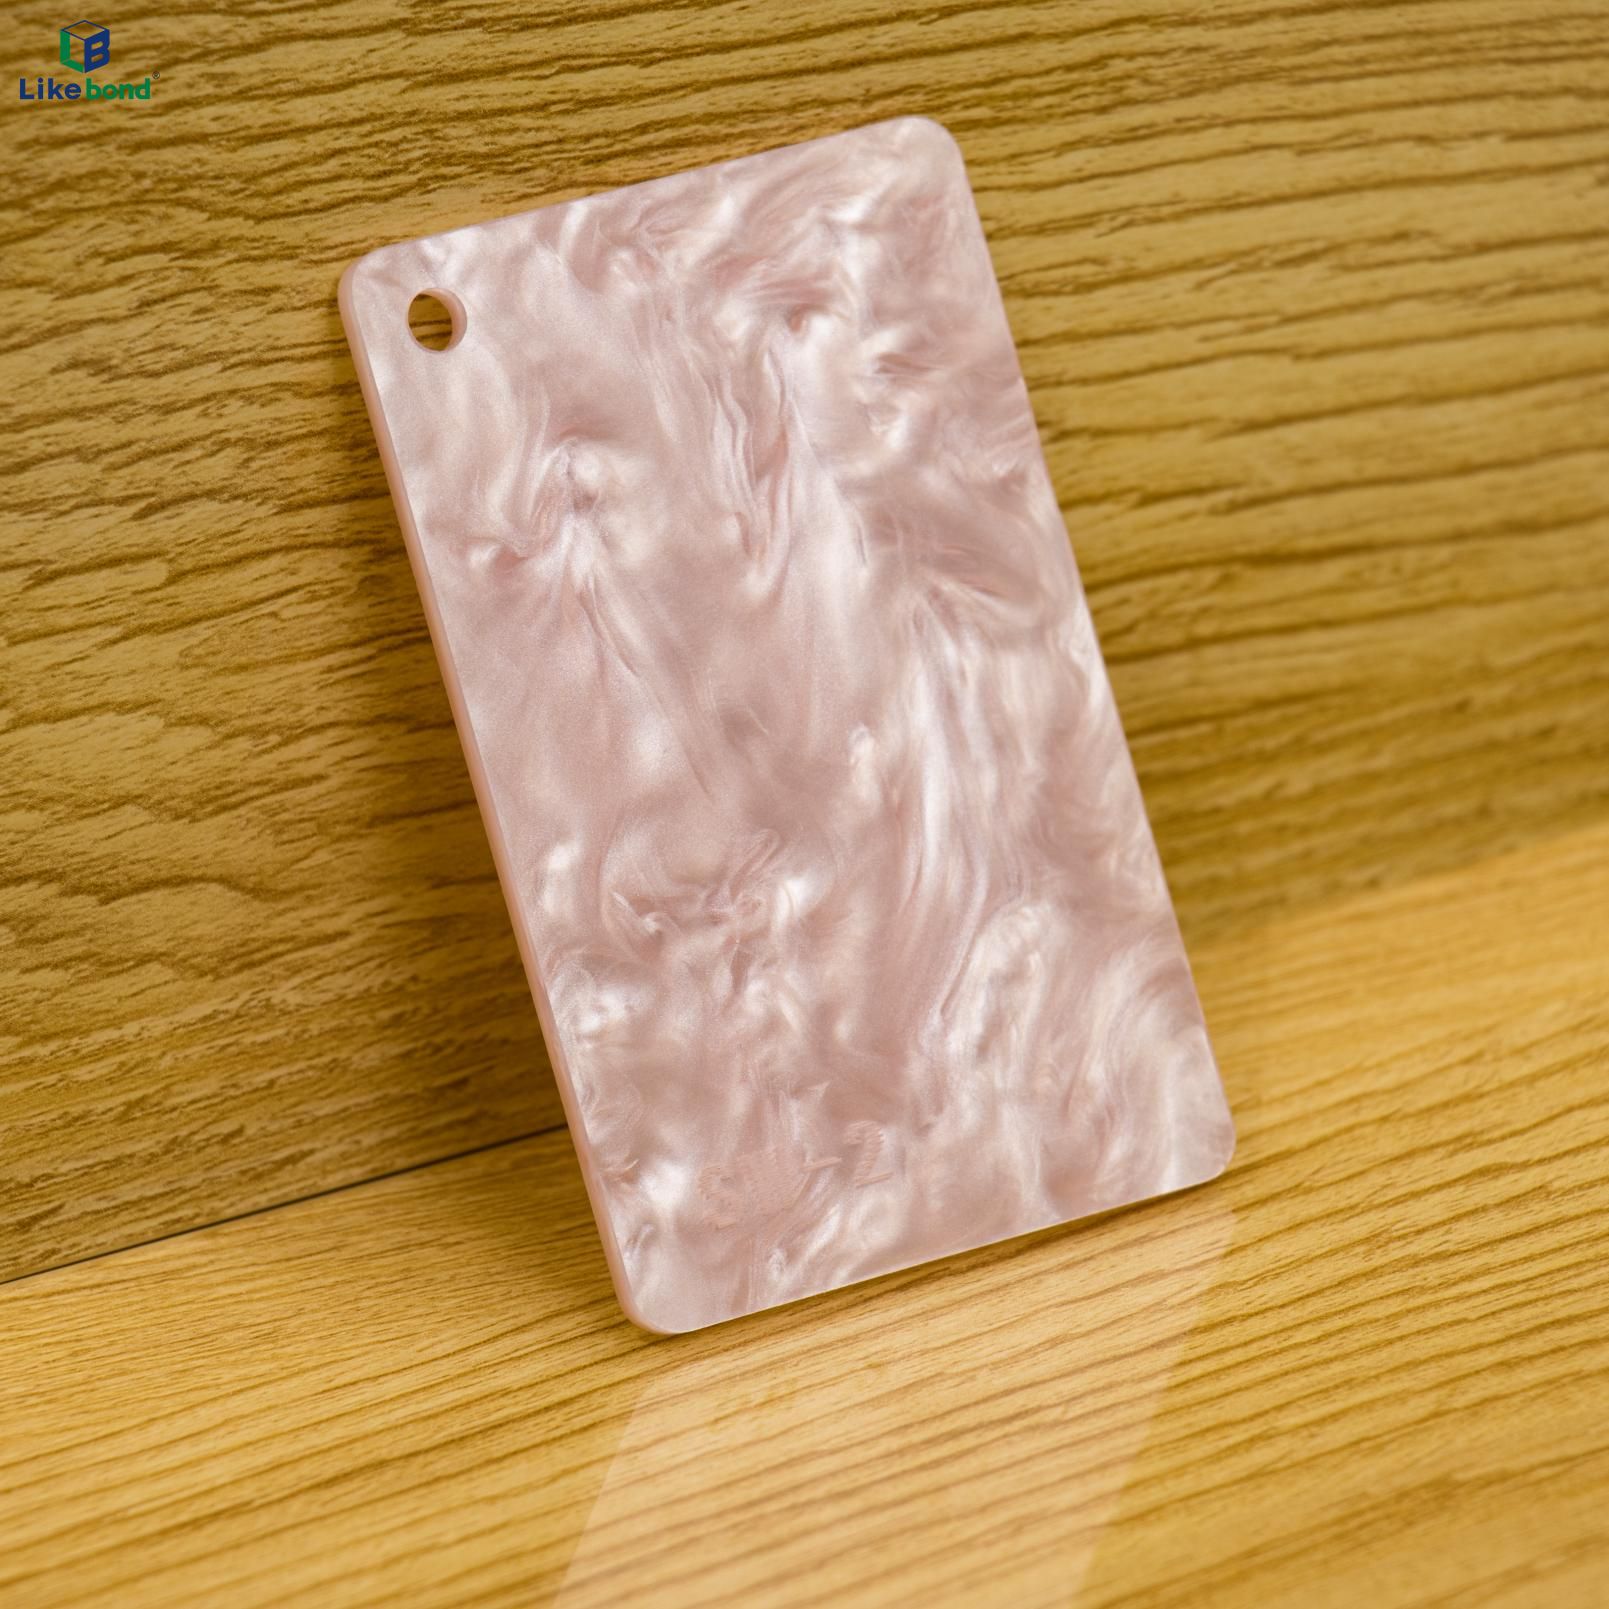
You must address the most common points of failure before hitting the start button. Edge melting, flare-ups, and smoke staining ruin expensive material. Proper preparation mitigates these risks entirely.
Raw sheets arrive with a protective film. You must always replace plastic film masking before lasering. Plastic masking melts under the beam. It fuses directly to the sheet and ruins the surface finish. You should peel it off and apply a medium-tack paper masking tape. Paper masking protects the pristine surface from sticky smoke residue during the burn.
Your software controls dictate the final quality of the piece. You must tune speed and power based on the operation type.
Cutting Parameters: Use low speed and high power. You need the beam to penetrate completely through the material. High-pressure Air Assist is absolutely mandatory here. The air clears vaporized material (called kerf) out of the trench. It prevents dangerous flare-ups and fire hazards.
Engraving Parameters: Use high speed and low power. You only want to ablate the top surface lightly. Turn your Air Assist off or switch it to ultra-low. High air pressure causes severe problems during engraving. It pushes vaporized debris back into the engraved texture, which muddies the frosty finish.
Thick materials require special focus techniques. For sheets thicker than 1/8 inch (3mm), focus adjustments become critical. You should sink the laser focus slightly below the material surface. Focusing halfway into the sheet ensures a straighter, less beveled edge profile. The beam maintains a tighter hourglass shape through the core of the plastic.
Execution strategy shifts entirely once parts leave the laser bed. You must transition cut components into a finished, professional product. Poor assembly techniques easily ruin beautifully cut pieces.
Multi-layer art requires flawless adhesion. You must avoid standard superglues (cyanoacrylate glues) at all costs. These glues off-gas heavily as they cure. This off-gassing causes "crazing" on acrylic edges. Crazing manifests as hundreds of tiny micro-cracks and an ugly white frosting.
Instead, use capillary-action acrylic cements like Weld-On 3 or 4. These solvents do not act like traditional glue. They actually melt the plastic molecules together to form a permanent weld. You deliver the solvent via ultra-fine needle-tip applicators. The thin liquid wicks instantly into the tight seams, ensuring seamless, bubble-free adhesion.
Raw edges sometimes require enhancement. You have two primary paths to restore clarity.
Flame Polishing: A quick pass with a hydrogen-oxygen torch instantly restores glass-like clarity to sanded edges. It is incredibly fast. However, it introduces massive thermal stress into the plastic. Do not use chemical solvents immediately after flame polishing, or the part will shatter instantly.
Mechanical Polishing: This involves progressive sanding followed by buffing wheels. You use a specialized polishing compound on a cotton wheel. It yields the safest, most professional museum-grade finish. It introduces zero thermal stress to the part.
Your procurement strategy impacts your production efficiency. You must evaluate suppliers carefully when procuring raw materials for commercial runs. Understanding shortlisting logic protects your profit margins.
Acrylic manufacturing involves natural variances. Cast acrylic generally features a broader thickness variance than extruded types. You might see up to a +/- 10% deviation across a single batch. You must account for this tolerance in your CAD software. If you design interlocking joints or tabs, measure the actual physical sheet with digital calipers before sending the file to the laser.
Custom designs often require scalable production. For ongoing product lines, you must verify supplier guarantees. Ask if they guarantee color-matching across different manufacturing lots. A neon pink ordered in January must match the neon pink ordered in July. Inconsistent color batches ruin product line continuity.
Time equals money in fabrication shops. Prioritize suppliers that ship material with paper masking on both sides. Manufacturers often label these options as "laser-ready." While they might cost marginally more upfront, they save massive labor costs in the prep phase. You avoid manually peeling plastic and rolling your own paper tape onto hundreds of blanks.
Art acrylic sheets remain highly adaptable for custom designs, provided you apply the strict distinction between Cast (for engraving) and Extruded (for cutting) to your project planning.
Fabricators should rigorously audit their equipment capabilities. Ensure you know whether you run a CO2 or Diode system before purchasing inventory.
Source high-quality, paper-masked cast acrylic for your initial testing phases to eliminate prep labor.
Run a comprehensive material test matrix. Engrave a speed and power grid to lock in exact parameters before committing to a full, expensive production run.
A: Yes. Frosted acrylic cuts smoothly like standard transparent acrylic. Mirrored acrylic requires a specific approach. You must cut mirrored sheets face down. This means you engrave through the gray protective backing first. Cutting face down prevents the active laser beam from reflecting off the mirror, traveling back up into the laser head, and destroying your expensive focal lens.
A: This depends entirely on the specific wattage of your laser tube. A 40W CO2 laser can comfortably cut 1/4" (6mm) acrylic at slow speeds. Meanwhile, a 100W or larger commercial system can effortlessly cut 1/2" (12mm) or thicker material in a single, clean pass without extreme edge melting.
A: Cutting acrylic (PMMA) produces fumes, primarily MMA vapor. These fumes are strong-smelling and act as highly noticeable respiratory irritants. While it is not nearly as toxic as cutting PVC (which emits lethal chlorine gas and literally rusts machine internals), proper inline ventilation and external exhaust systems are strictly required to ensure safe OSHA compliance.


